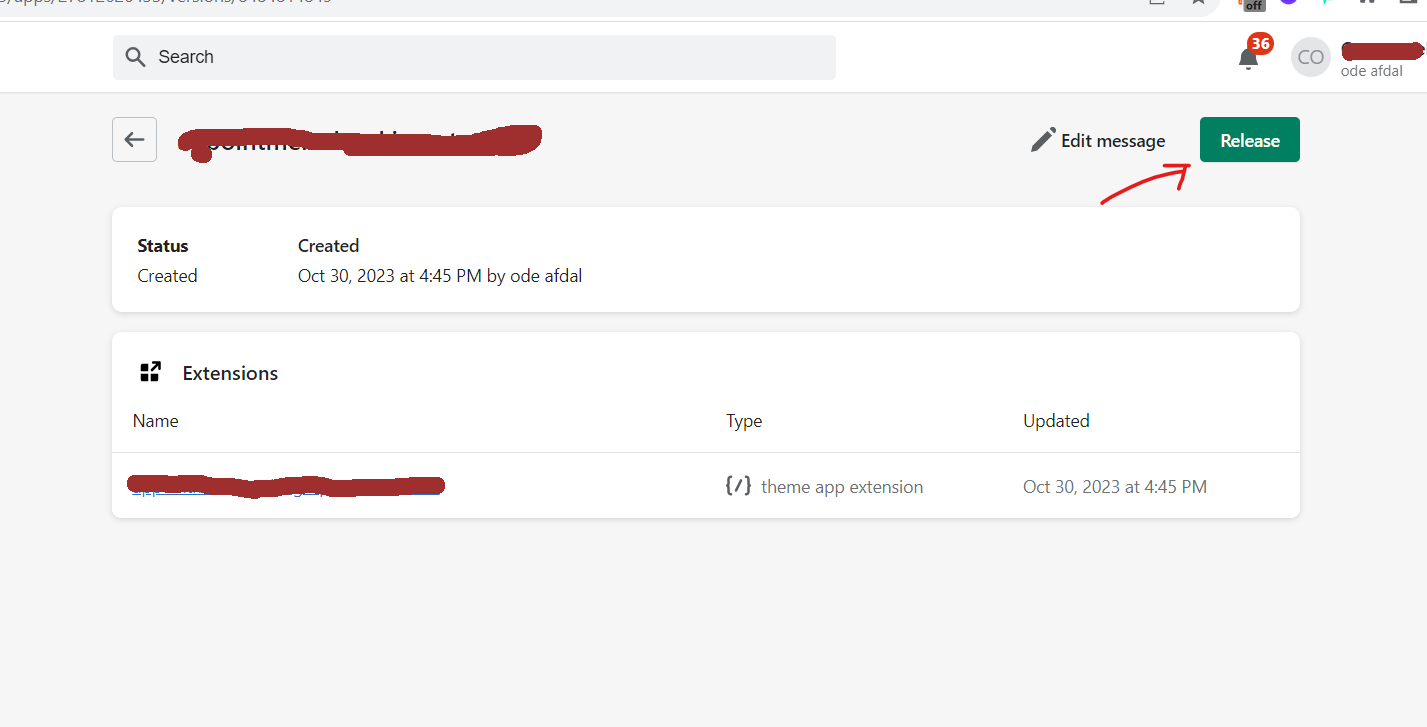
Build Storefront UI:
- Open
shopify-customer-ui, you can edit the theme app here - Make sure the
env.productionwas like this.
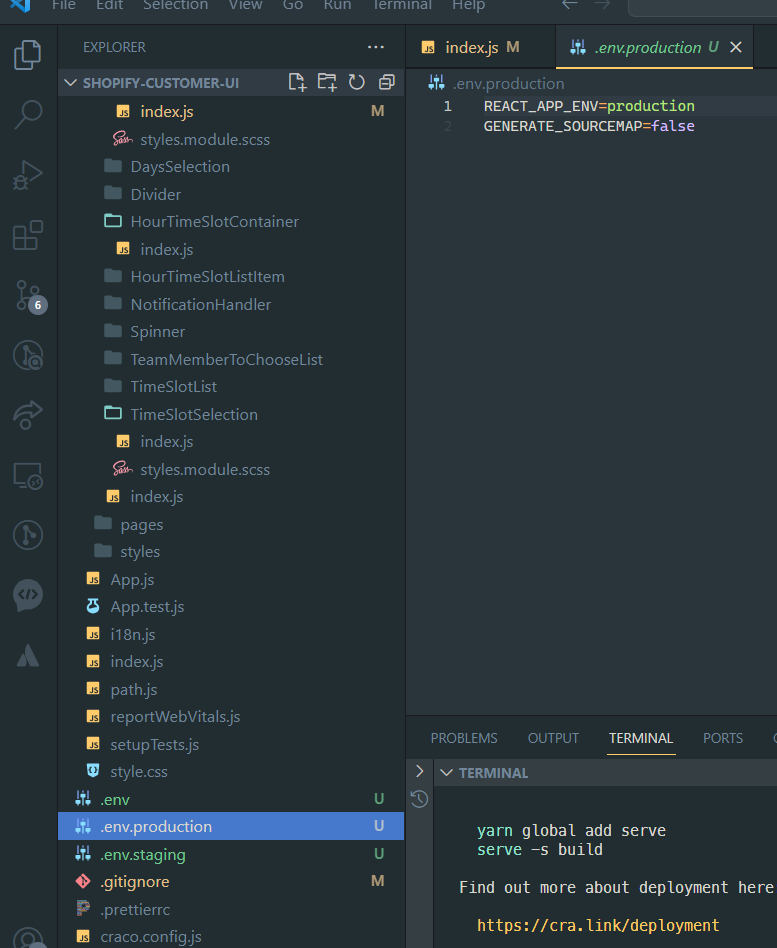
- Build the theme app by running
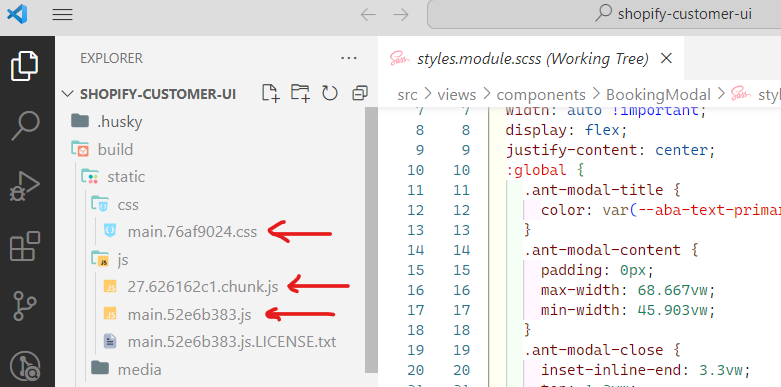
yarn build:prod - You can check your build file here, we’ll need it later in
appointment-shopify-ferepo for deploying the theme app
Prepare for Deployment:
- Create new branch for deploying theme app, you put the name like
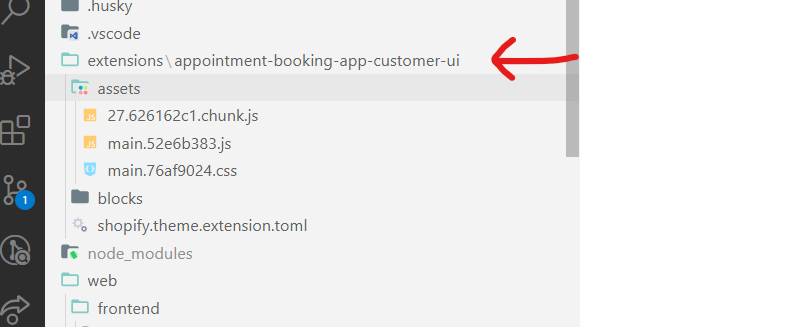
theme-app-stage-{{date a.g. 20231030 --> year-month-date}} - Copy the extensions folder from existing/latest
theme-app-statebranch, and put it in your new branch - Remove all files in assets and replace it with the new file that you have made earlier.
- Edit
appointment-booking-app-embed.liquid, change the text (red underline) with files that you have added to the assets
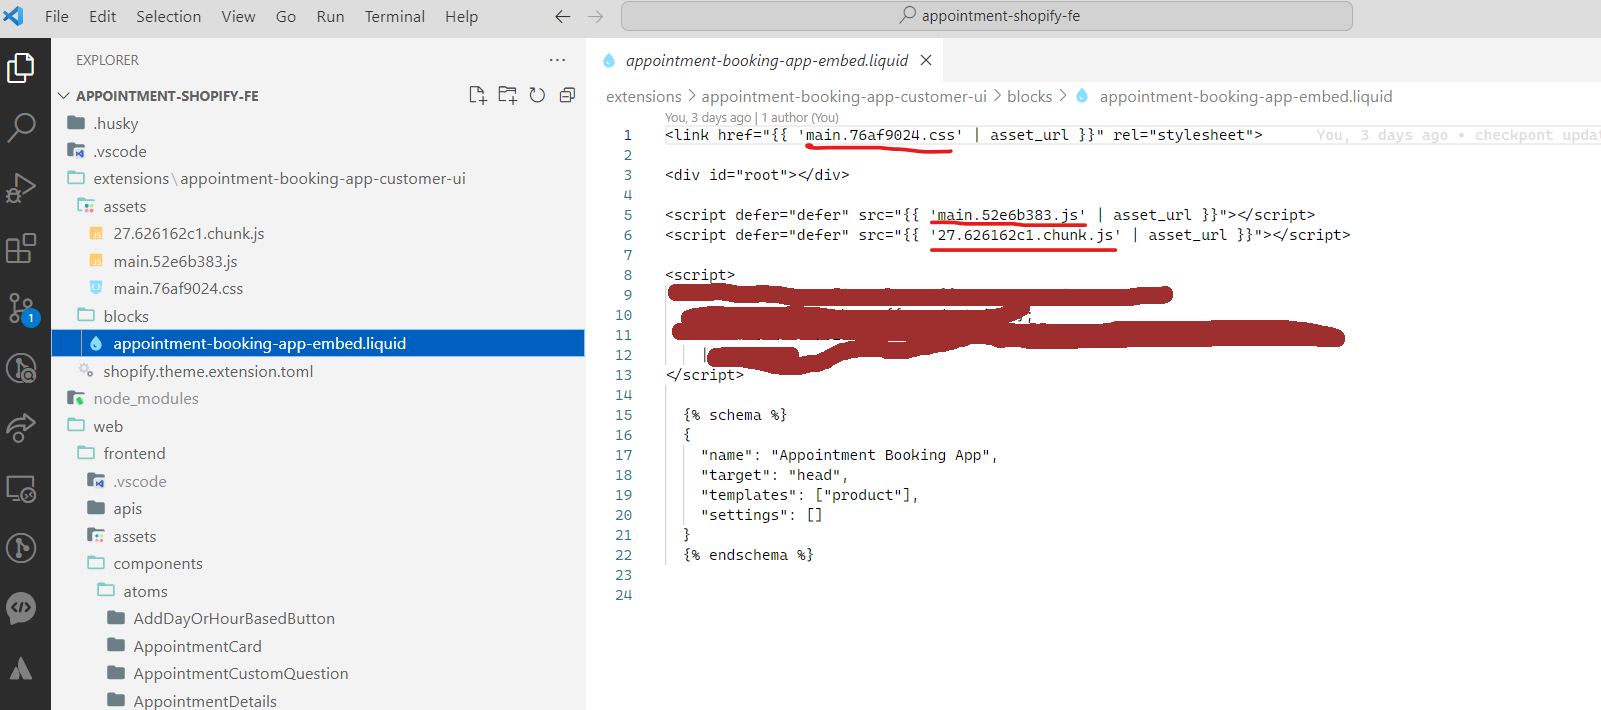
- Run
shopify versionto make sure you’re running the latest version, if not then runshopify upgradeto upgrade the Shopify CLI version and Shopify App version - Run
yarnornpm ito make sure the package already updated with new shopify version
Deployment
- Run
yarn dev --reset --no-updateor justyarn dev --no-update.
Explanation: 1. To run the app but reset the toml config (--reset) without updating the redirect URL (--no-update). 2. if this step is already done before, next time you can just run the app byyarn dev --no-update. 3. but if you want to change the store or app config, you can run this again 4. or if you are facing an error, something likecannot find <shop name>.toml, you can run this command again. - Select an organization, select
CommercePreneurs
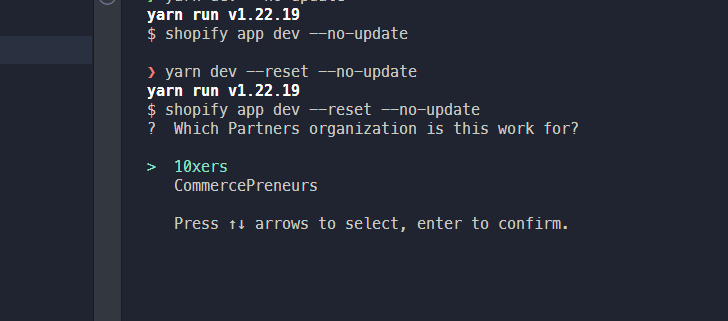
- Select project, select
(n) connect it to an existing app
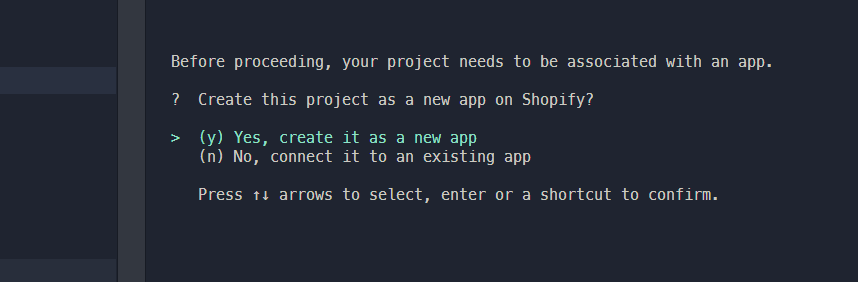
- Select App, select
Appointment Booking Autopilot
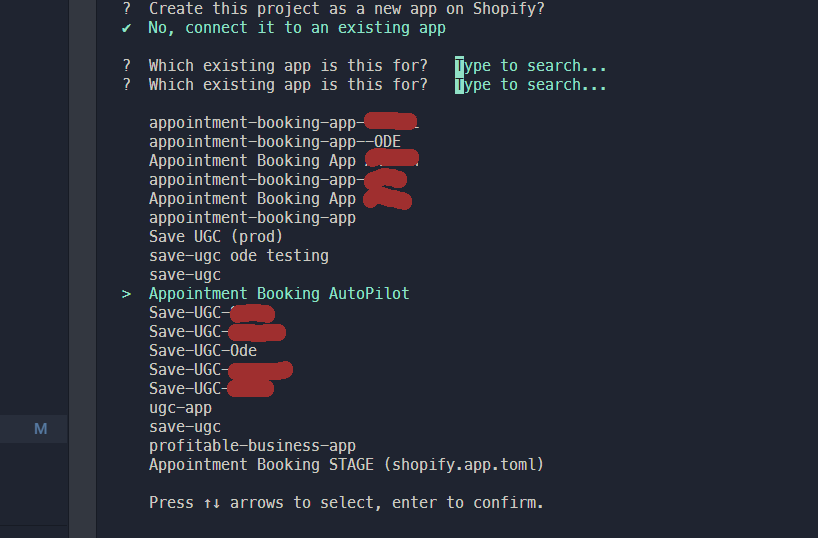
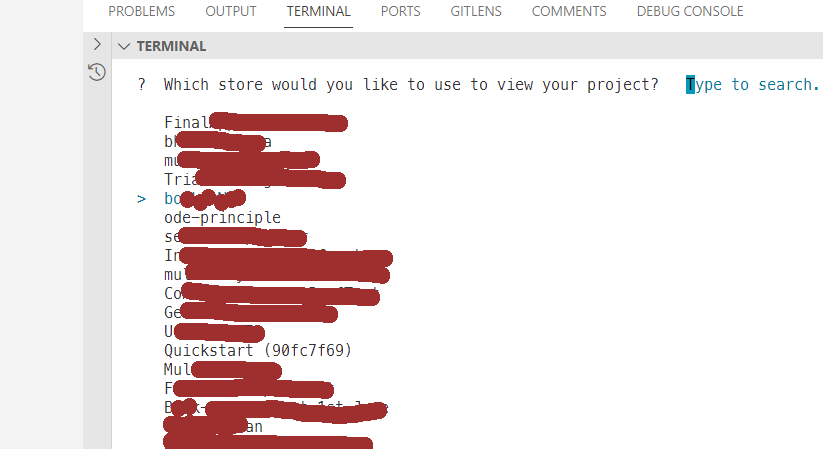
- Select Store, select
bookItNow
- Open the Preview URL
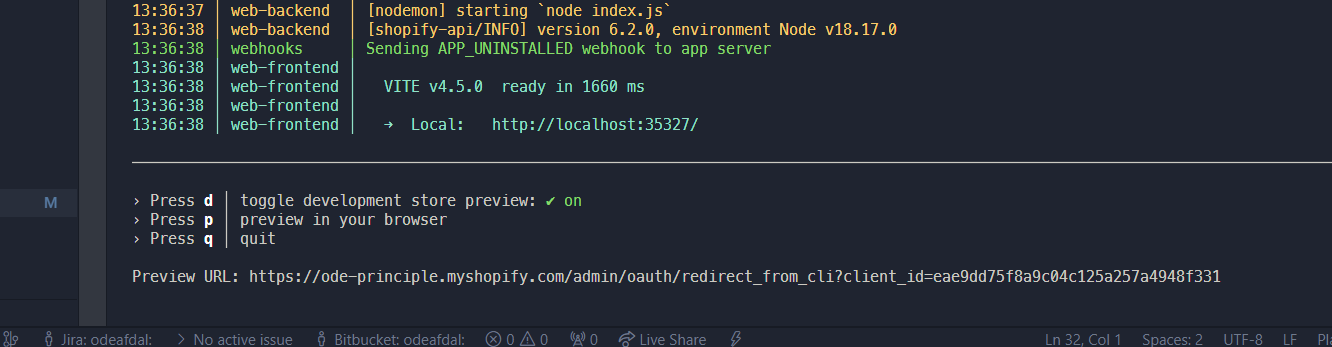
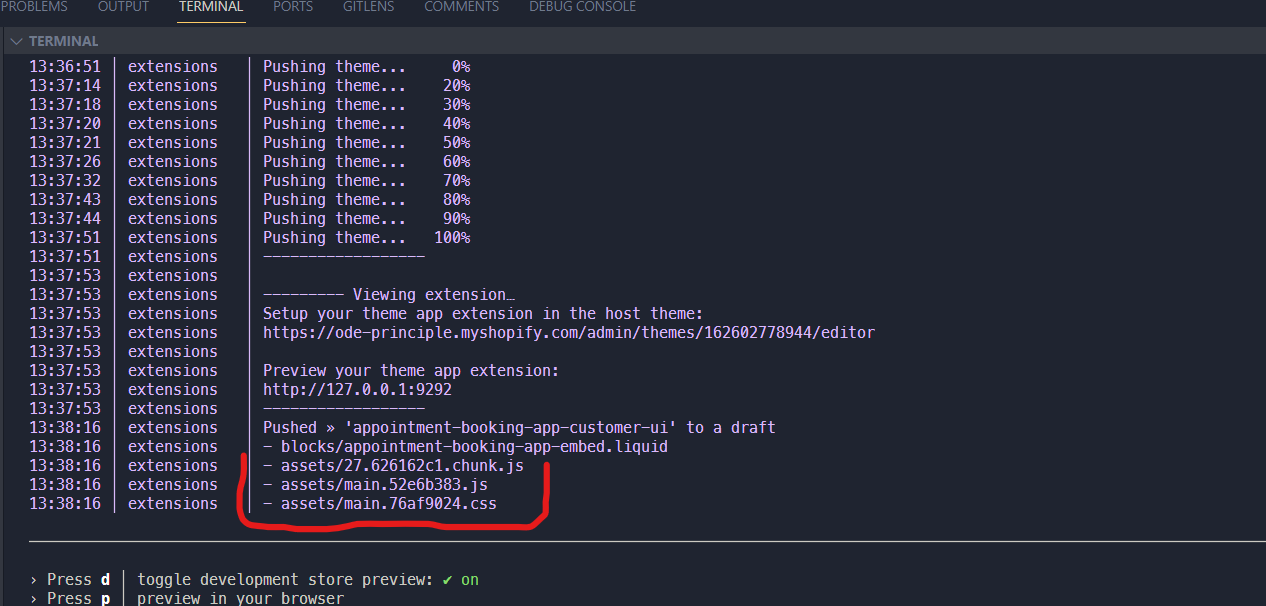
- Wait until the
Pushing theme filecomplete
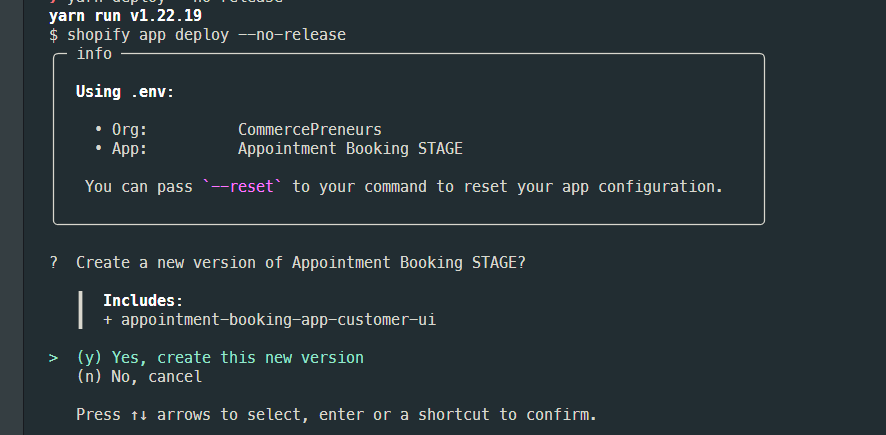
- Run
yarn deploy --no-release --version={{ version e.g. 2.1.1}} --message="put your message here", it will create a new version but will not release.
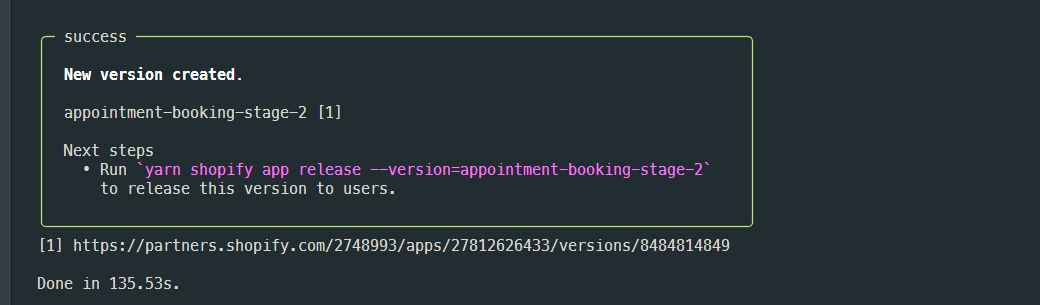
- Release the version in two ways using CLI or in Partner Dashboard.
- Open your store → open your product → open the network (filter it with
main) and make sure the CSS and JS files was the same with the things that you have deployed
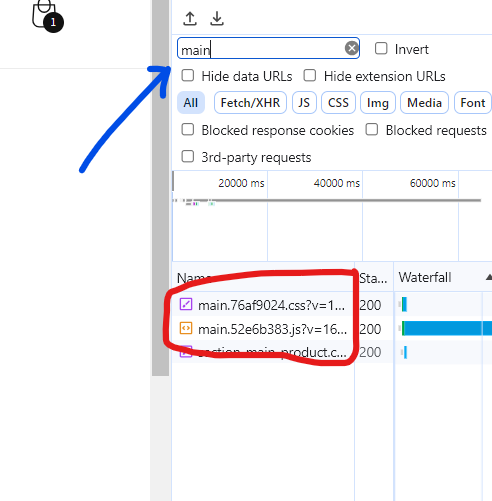
To Reveert or Release using version CLI:
- Open new terminal, run
npm run shopify app versions listto check the app version and choose what version that we want to release and copy the version, paste it to notepad. See all version from partner dashboard
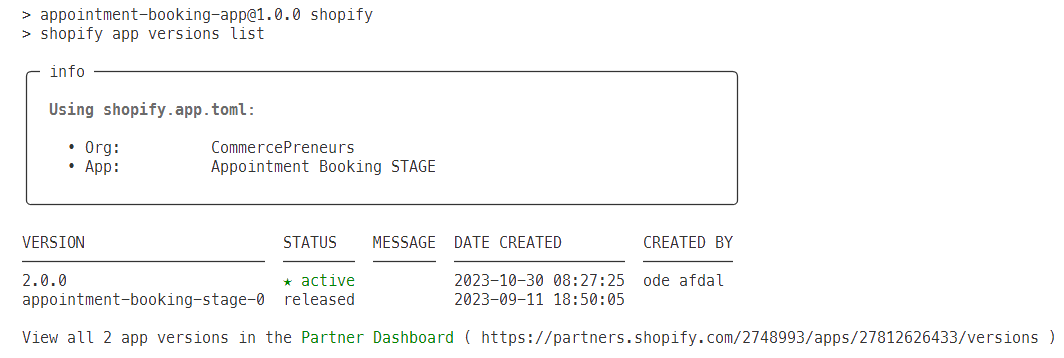
- Run
yarn shopify app release --version=<the app version>(that we have copy to notepad) and chooseYes, release this version, after that just wait until it’s done
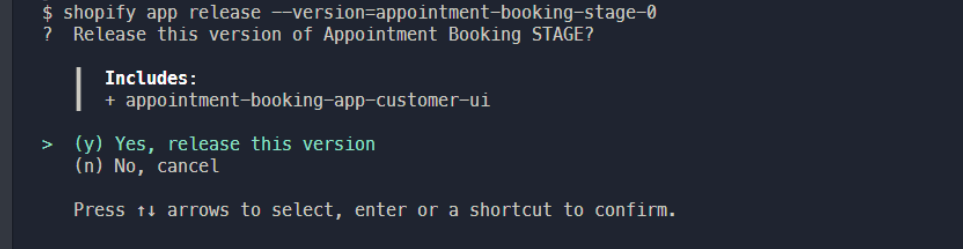
To Reveert or Release version using Partner Dashboard:
- Select the app (Prod APP)
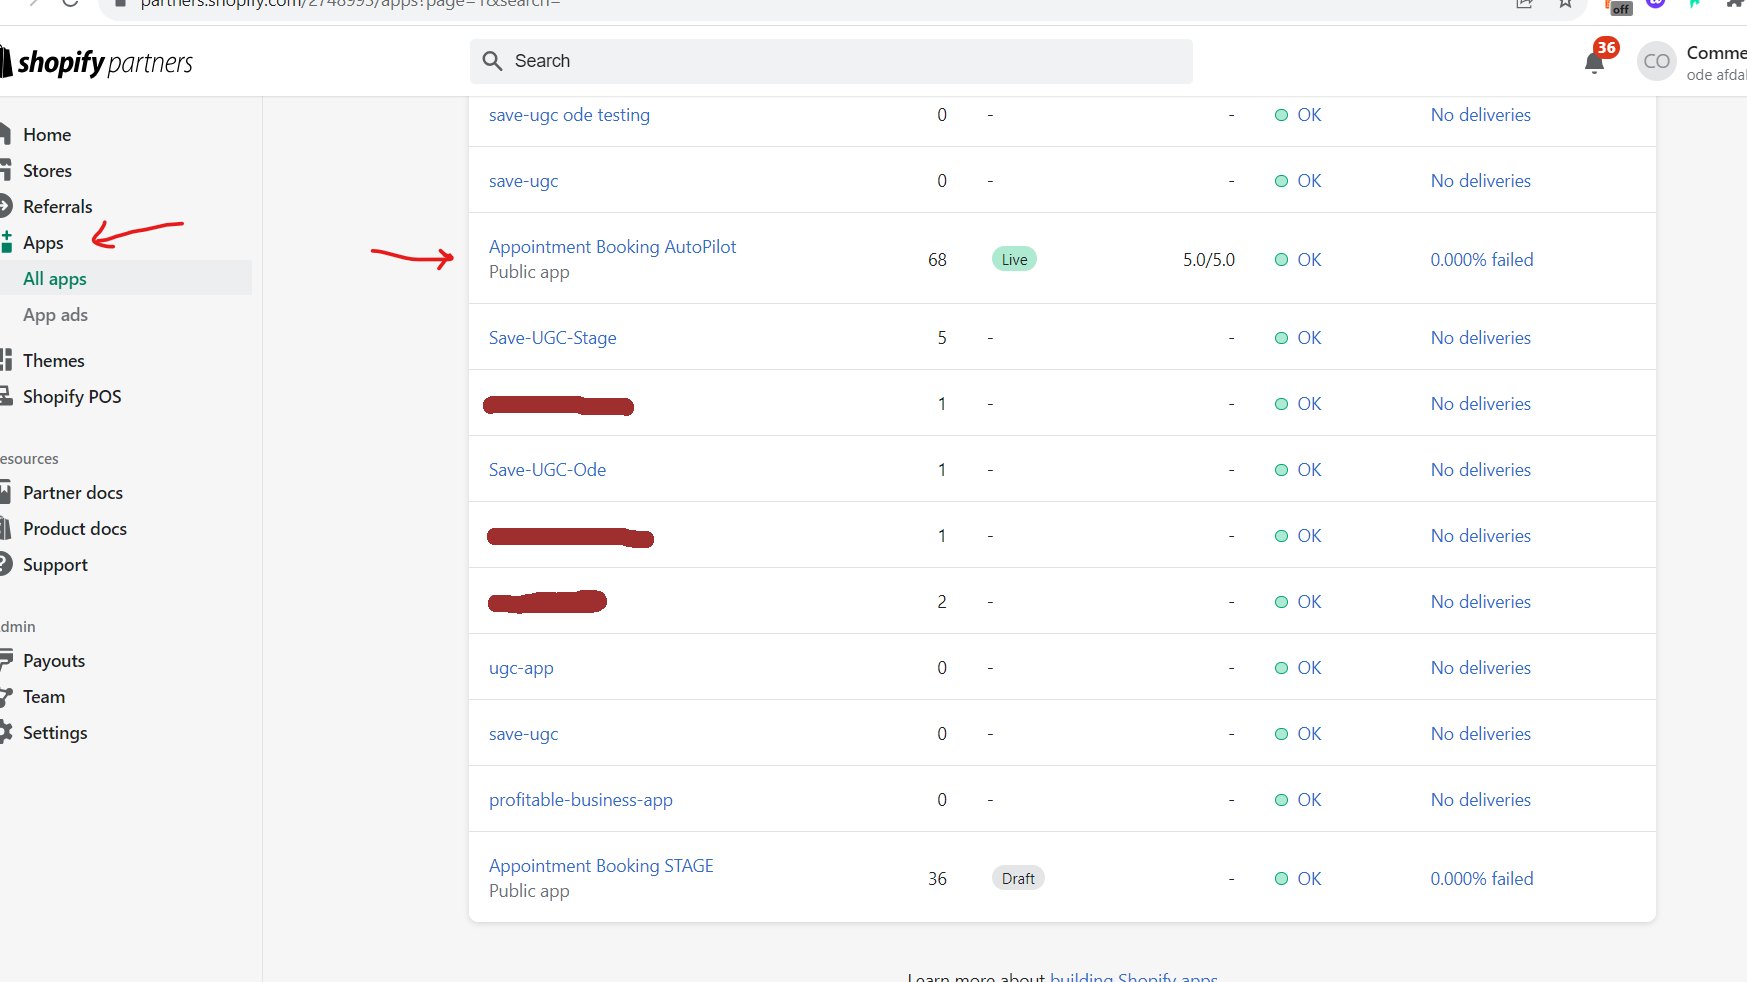
- Go to version and choose version to release
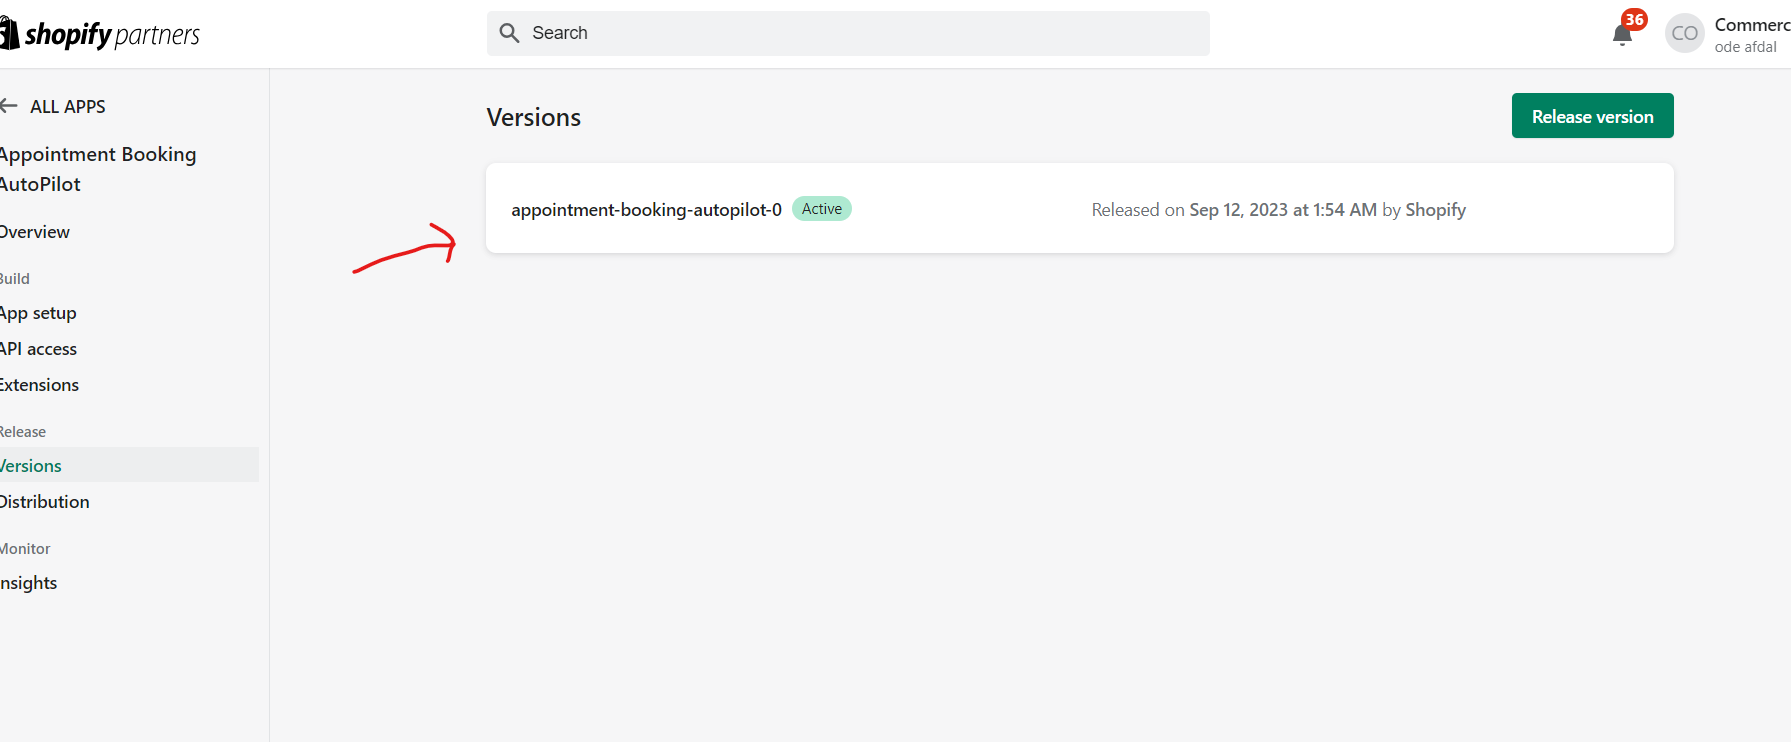
- click on Release