Webflow Product
Product Types:
doc: https://university.webflow.com/lesson/add-and-manage-products-and-categories
There are currently 5 product types to choose from:
- Physical: shipped to the customer (e.g., merchandise, apparel)
- Digital: immediately downloadable by the customer (e.g., audio files, ebooks)
- Service: doesn't require shipping at checkout (e.g., classes, consultations)
- **Membership: **gives users access to gated content through recurring or one-time payment (e.g., subscriptions or one-time membership fee). Site users need to create and verify their accounts before they’re able to purchase a membership product. Membership products can only be purchased once.
- Advanced: provides all available customizable options
Depending on the product type you assign, shipping and download fields will automatically show or hide.
Shipping fields are:
- Shipping required*****
- Width
- Weight
- Height
- Length
*Shipping information will/won’t be collected based on the value of the Shipping required field. Learn more about how to configure orders that don’t require shipping.
Default visibility settings
The default visibility settings for each product type are as follows:
Physical (Requires shipping field defaults to Yes)
- Hidden: Download fields
- Visible: Shipping fields
Digital (Requires shipping field defaults to No)
- Hidden: Shipping fields
- Visible: Download fields
Service (Requires shipping field defaults to No)
- Hidden: Download fields, shipping fields
- Visible: None
Membership (Requires shipping field defaults to No)
- Hidden: None
- Visible: Download fields, shipping fields
Advanced (Requires shipping field defaults to Yes)
- Hidden: None
- Visible: Download fields, shipping fields
Webflow Add To Cart/Buy Now Button
add to cart button doc: https://university.webflow.com/lesson/create-an-add-to-cart-button
cart component doc : https://university.webflow.com/lesson/customize-the-checkout-experience
API doc: https://developers.webflow.com/reference/list-orders
render external API in Webflow: https://www.youtube.com/watch?v=l-VxreUsl6U
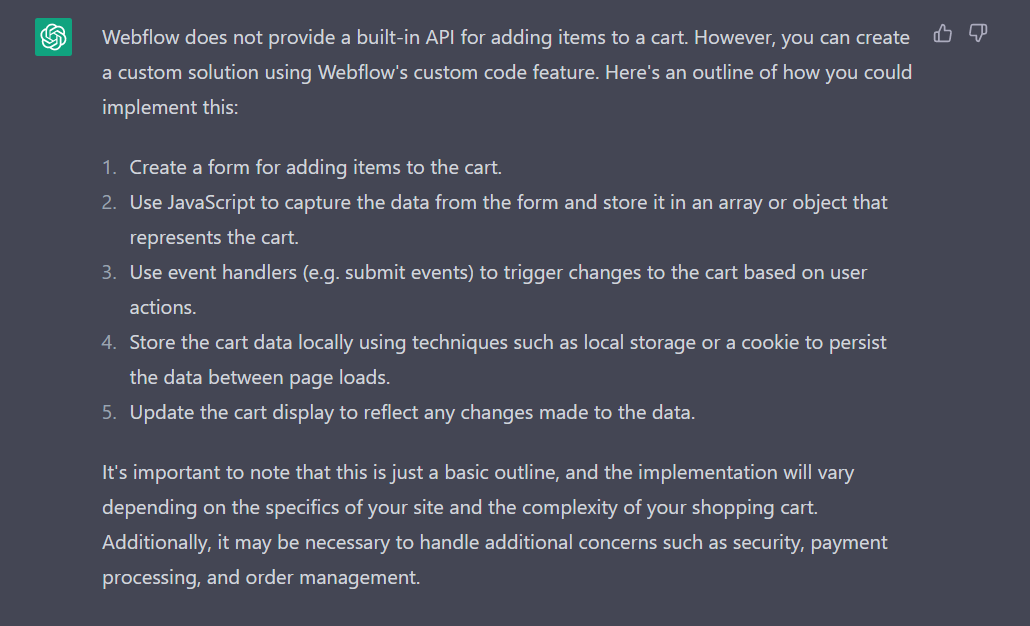
Based on this, we cannot modify the data (product) before storing it in the Webflow chart to add our inventory to it. Except, we need to tell the merchant to modify the Webflow cart component to render the cart data from our BE (e.g. using custom code) but it will make the Webflow cart component and add to cart button component to be useless because we still need to make a cart collection in our BE for that.
The conclusion for this is, we’ll make our custom button and we’ll ask the merchant to render it on the product detail page as an add to cart button (if we still want to make our custom cart component) or as a buy now/checkout now button to directly call the payment screen.
Access Token:
The access_token request should be made as soon as possible after authorization as an unconfirmed authorization_code is only valid for 15 minutes https://developers.webflow.com/docs/oauth.
Once you have successfully used the authorization code to obtain an access token, you can use the access token to make API requests on behalf of the user in the future. Access tokens typically have a longer lifespan than authorization codes and can be used repeatedly until they expire or are revoked.
It's important to note that access tokens can be revoked at any time by the user, so it's always a good idea to periodically check the validity of the access token and request a new one if necessary.
The lifespan of a Webflow access token is not publicly specified. The exact lifespan of an access token can vary depending on a number of factors, including the specific API or integration you are working with and the security settings of the user's Webflow account.
To request a new access token, you will typically need to go through the authorization process again, which includes obtaining a new authorization code. This is because access tokens have a limited lifespan and will eventually expire, at which point you will need to request a new one.
When requesting a new authorization code, the user will typically be prompted to grant permission for your app to access their Webflow account again. After the user grants permission, you will receive a new authorization code, which you can then use to request a new access token.